If your house has ever felt drafty in the winter or struggled to stay cool in the summer, you’re not alone. Weatherization—basically, making your home more airtight and energy-smart—is one of the smartest and most affordable ways to make a real difference in comfort and cost. This checklist walks you through exactly how to do that, whether you’re a weekend DIYer or just trying to make sense of where to start.
Why Weatherization Matters for Every Homeowner
Weatherization isn’t just about energy savings. It’s about building a healthier, more comfortable space and protecting your investment long-term. Here’s why giving your home a weather-tight tune-up is worth your time.
Energy Efficiency and Cost Savings
The U.S. Department of Energy (DOE) says the average household spends over $2,000 each year on energy—and nearly half of that goes just to heating and cooling. But get this: up to 30% of that energy can slip away through leaks and poor insulation. That’s like throwing a few hundred bucks out the window every winter (and summer). Here’s what weatherization can do:
- Cut heating and cooling bills by 20–40%
- Help your HVAC system last longer by reducing strain
- Boost your home’s value by showcasing energy upgrades
Plus, federal and state programs can help offset costs. The ENERGY STAR Home Upgrade initiative offers tax credits for qualifying improvements. Worth checking out!
Environmental and Health Benefits
Sealing up your home doesn’t just help your wallet—it helps your family and the planet. A well-insulated, tightly sealed home:
- Lowers your carbon footprint by using less energy
- Prevents moisture problems like mold or mildew
- Improves indoor air quality by reducing allergens and pollutants
According to the Environmental Protection Agency (EPA), proper air sealing can be a game changer for people with asthma or allergies—especially in older homes that leak like sieves.
Complete Home Weatherization Checklist
Let’s break it down, step by step. Whether you’re tackling it all at once or taking baby steps, these actions help seal, insulate, and optimize every inch of your home.
Exterior Inspection
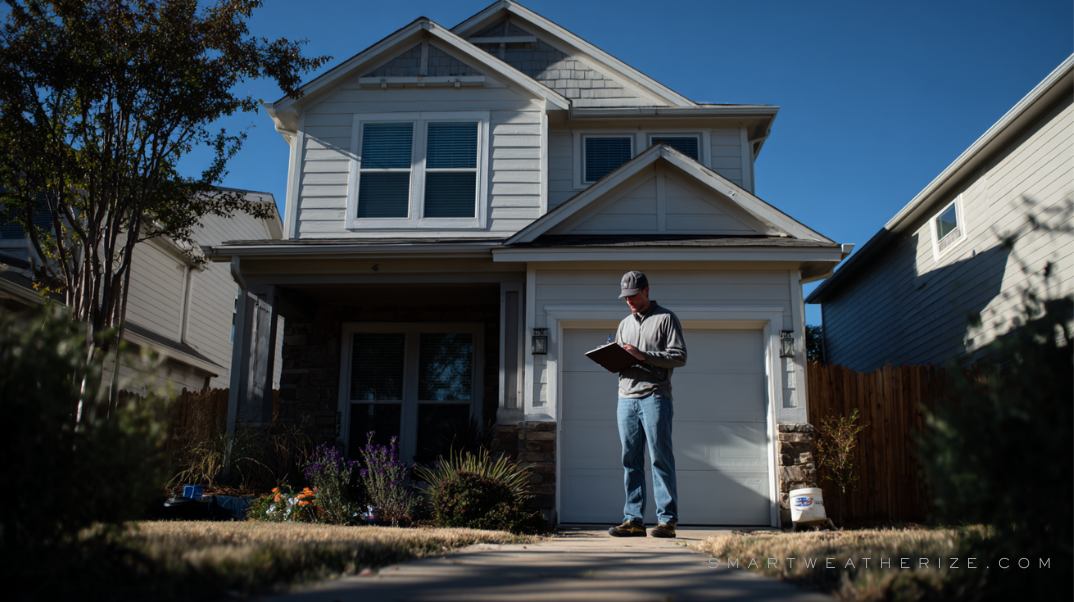
Grab a clipboard and take a walk around your home. You’re looking for wear, gaps, and weak spots where energy (and money) might be escaping.
- Roof: Look for missing shingles or signs of leaks.
- Siding and foundation: Cracks here can let in drafts or pests.
- Windows and doors: Check the caulking—if it’s cracked, it’s leaking.
- Gutters and downspouts: Clean them out and make sure they’re draining away from your foundation.
Air Sealing
This is one of the fastest, cheapest ways to cut energy loss—and you can do a lot of it yourself. See our DIY Air Sealing Tips for step-by-step guidance.
- Use caulk or weatherstripping on doors and windows
- Seal attic hatches with foam gaskets
- Use spray foam around pipes, flues, and vents
- Install baffles or seal around recessed lights
- Hire a pro for a blower door test to find the sneaky leaks
Insulation Improvements
Insulation acts like a thermal blanket for your home. More isn’t always better—but the right kind in the right places? That’s gold. Avoid common weatherization mistakes to maximize impact.
| Area | Recommended R-Value (Zone 4) | Material Options |
|---|---|---|
| Attic | R-38 to R-60 | Fiberglass batts, blown-in cellulose |
| Walls (exterior) | R-13 to R-21 | Foam board, dense-pack cellulose |
| Crawl space/basement | R-11 to R-30 | Spray foam, rigid foam, fiberglass batts |
Pro tip: If you can only do one thing—start with your attic. That’s where most of your heat is escaping.

HVAC System Optimization
- Replace filters every 1–3 months
- Get it professionally serviced before summer and winter
- Seal and insulate ducts—especially in attics or crawl spaces
- Use a programmable or smart thermostat
Seal and insulate ducts—businesses utilize similar strategies in commercial weatherization enhancements.
Windows and Doors
- Install storm windows or low-E coatings
- Use thermal curtains or blinds
- Add door sweeps and fresh weatherstripping
- Apply insulating window film
And if your windows are old, warped, or constantly foggy—it might be time to consider ENERGY STAR-certified replacements.
Basement and Crawl Space Sealing
- Install a vapor barrier over dirt floors
- Foam-seal rim joists and cracks
- Insulate foundation walls
- Use a dehumidifier if needed
Key Insights and Supporting Research
- DOE’s Weatherization Assistance Program estimates homes can save up to 20% annually.
- ENERGY STAR says basic sealing and insulation can save $200–$400 per year.
- EPA emphasizes improved indoor air quality as a top benefit.
Expert Quotes
“The cheapest energy is the energy you don’t use. Weatherization pays off faster than most home upgrades.” — Dr. Steven Nadel, Executive Director, ACEEE
“Insulation and air sealing are the unsung heroes of home efficiency.” — Kara Saul Rinaldi, Building Performance Association
Case Studies and Real-World Examples
1970s Home in Chicago
- Retrofit Cost: $2,800
- Upgrades: Added attic insulation, sealed air leaks, replaced weatherstripping
- Annual Savings: $450
- Payback Period: 6.2 years
Modern Home in Austin, TX
- Upgrades: Installed radiant barrier, sealed ducts, smart thermostat
- Results: HVAC ran smoother, 25% cut in cooling costs
- Bonus: Noticeable drop in humidity indoors
Frequently Asked Questions (FAQs)
What is weatherization and why is it important?
It’s the process of sealing and insulating your home to make it more efficient. That means more comfort, lower bills, and a healthier indoor space.
Is DIY weatherization effective or should I hire a professional?
Many fixes—like caulking or insulation—are DIY-friendly. But you’ll want to avoid common weatherization mistakes before calling a pro.
How do I know which parts of my home need weatherization?
A professional energy audit is best. You’ll get a roadmap of where your home is leaking money.
How much does it cost to weatherize a home?
It varies. Basic DIY: $300–$500. Full professional job: $2,000–$5,000+. But in many cases, you’ll earn it back in 2–5 years through energy savings.
Conclusion: Take Charge of Your Home’s Efficiency
Every home loses energy somewhere—but you don’t have to let that continue. Weatherizing your space gives you back control: over comfort, over costs, and over how your home impacts the planet. Whether you’re sealing up cracks or booking a whole-home audit, your future self (and your energy bill) will thank you. Smart Weatherization’s proven process includes energy audits, blower-door tests, and sealing—learn more about our Smart Weatherization approach.
Next Steps
- Get an energy audit—it’s the best way to start smart.
- Seal the biggest leaks first—think attics, doors, and ducts.
- Tap into rebates—programs from ENERGY STAR or local utilities can help cover costs.
- Stay on top of HVAC maintenance—tune-ups save money and headaches.
- Track your energy bills—watch your progress and celebrate those savings!
