How do DIY weatherization mistakes impact your home?
DIY weatherization mistakes can quietly increase energy loss, trap moisture, and create safety hazards. When air sealing, insulation, and ventilation aren’t done in the right order, you may end up with higher bills, uneven temperatures, and long-term damage instead of savings.
Air Sealing
Stops uncontrolled airflow that wastes energy.
Insulation
Slows heat transfer to stabilize indoor temperatures.
Ventilation
Controls airflow to prevent moisture buildup.
R-Value
Measures insulation effectiveness.
Energy Audit
Finds where your home is losing energy.
Why DIY Weatherization Mistakes Happen
DIY weatherization feels simple—but real performance depends on sequencing, materials, ventilation, and safety working together as a system.
When you skip steps or do them out of order, you don’t just lose efficiency—you risk creating moisture problems, air leaks, and hidden structural issues.
Most DIY failures come from doing the right tasks in the wrong order.
Top DIY Weatherization Mistakes to Avoid
1. Skipping air sealing before insulation
Air leaks cancel out insulation performance.
2. Using the wrong sealant
Materials must match indoor vs outdoor conditions.
3. Compressing insulation
Crushed insulation loses effectiveness.
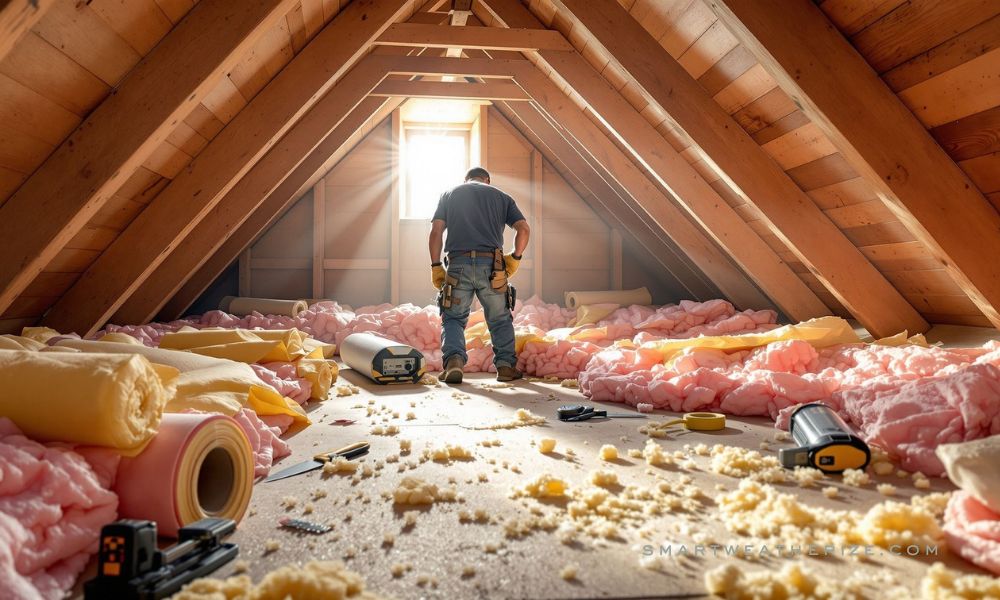
4. Ignoring attic and basement leaks
These areas drive the majority of heat loss.
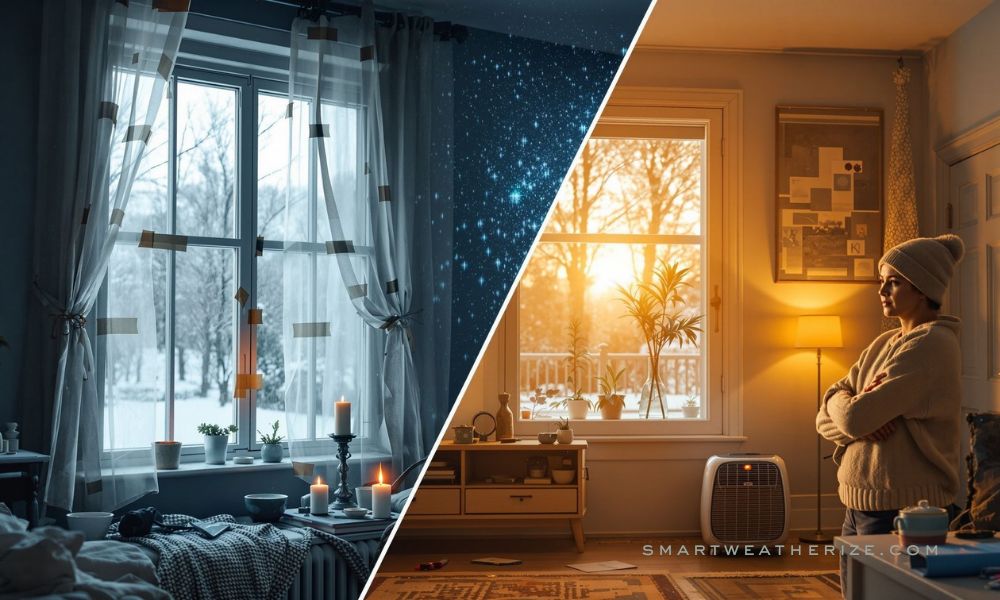
5. Blocking ventilation
Traps moisture and reduces air quality.
6. Sealing around old wiring
Can create fire hazards.
7. Poor weather stripping placement
Creates gaps instead of sealing them.
8. Ignoring seasonal expansion
Materials shift and fail over time.
9. Skipping final inspection
You can’t fix what you don’t measure.
10. Missing rebates
You may lose out on major savings.
Ready to avoid costly DIY weatherization mistakes?
Follow a proven sequence so every improvement actually works together.
The Correct Weatherization Sequence
As a homeowner, landlord, or contractor, results come from doing steps in the right order—not doing more work.
| Step | Action | Purpose |
|---|---|---|
| 1 | Energy Audit | Identify inefficiencies |
| 2 | Air Sealing | Stop leaks |
| 3 | Insulation | Stabilize temperature |
| 4 | Ventilation | Control moisture |
| 5 | Final Check | Confirm results |
Frequently Analyzed Topics
Can DIY weatherization increase energy bills?
Yes. Poor sealing or insulation forces HVAC systems to work harder, raising energy costs.
What is the biggest mistake?
Insulating before sealing air leaks is the most common and costly error.
Do I still need ventilation?
Yes. Proper airflow prevents moisture buildup and protects indoor air quality.
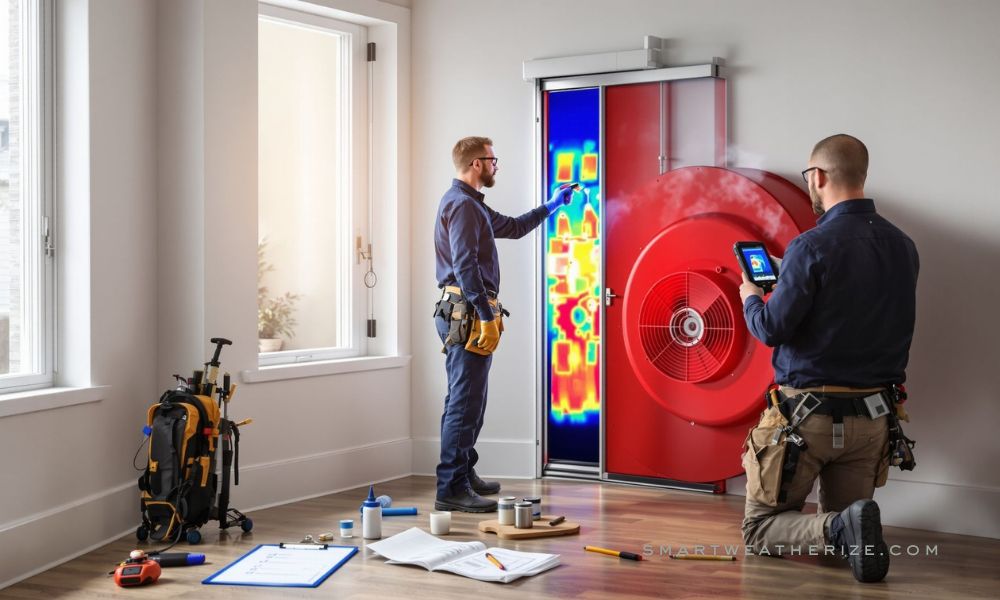
How do I verify results?
Use smoke tests, thermal cameras, or blower door testing to confirm improvements.
Weatherize the Right Way—Without Regret
- ✔ Avoid costly mistakes
- ✔ Improve comfort and efficiency
- ✔ Protect your home from hidden damage

Lily Strauss is an environmental and energy expert based in Boulder, Colorado, with a background in Environmental Science from Stanford and Energy Policy at a London College. She began her career in environmental consulting before moving into energy policy, contributing to major sustainability initiatives with NGOs and the U.S. Department of Energy. Currently a senior advisor at a global climate think tank, she focuses on energy equity and climate resilience. Outside of work, Lily enjoys rock climbing, photography, and urban farming, and is passionate about climate justice and youth education in sustainability.