💬Comfort
“The bedrooms stopped feeling drafty at night. It was the first improvement we could actually feel.”
Most homes have the same hidden problem: a vented, unconditioned attic that behaves like the outside—yet it’s connected to your living space through dozens of tiny gaps you can’t see from downstairs.
That’s why “more insulation” doesn’t always fix comfort issues. If warm air is leaking up (or hot attic air is leaking down), you’re still losing energy. Seal the leaks first, and insulation finally gets to do its job.
Get the Step-by-Step Weekend Plan ✅
No gut renovation. No mystery. Just the highest-impact attic fixes—done in the right order.
Here’s the frustrating truth: if air can move freely between your home and attic, your HVAC system ends up fighting a battle it can’t win. Conditioned air escapes through ceiling gaps, and outside-like attic air gets pulled in to replace it. That’s why some rooms feel drafty in winter, sticky in summer, and never quite “right.”
You’ll often see the evidence in your insulation. If it looks dirty or streaked, air has been moving through it—dragging dust along for the ride. That’s not just a cleanliness issue. It’s a performance warning light.
📌 The “open window” reality: In terms of air and heat behavior, a vented attic is basically outdoors. Any gap between your ceiling and attic is like leaving a window cracked open—24/7.
That’s why ENERGY STAR and Building Science guidance consistently recommend sealing leaks before adding insulation.
If you only remember one thing from this page: air sealing comes first. Insulation comes second.
“We didn’t realize how much air was leaking into the attic until we pulled the insulation back—after sealing, the upstairs finally felt like the rest of the house.”
💬Comfort
“The bedrooms stopped feeling drafty at night. It was the first improvement we could actually feel.”
⭐HVAC
“Our system runs less often, and the temperature swings upstairs are way smaller.”
🔥Clarity
“Once we sealed the big gaps, it was obvious where to add insulation—and it stayed where it belongs.”
Most people don’t fail because they lack effort—they fail because they seal the wrong things first (or bury leaks under new insulation). The turning point is when you treat your attic like a boundary you’re strengthening, not a storage room you’re tidying.
When you approach it in a clean sequence—identify, seal, then re-insulate—you get results that show up in comfort and efficiency.
Here’s what changed for homeowners who finally got traction:
If you want the biggest efficiency win with the least disruption, this is the order that keeps you safe, focused, and actually finished by Sunday.
Open the ENERGY STAR Attic Sealing Guide 📌
Safety note: if you have gas appliances or attic HVAC, schedule a professional depressurization/backdrafting check before and after major air sealing (per EPA / DOE guidance).
The process is simple: move insulation aside carefully, seal the ceiling-to-attic boundary thoroughly, then put insulation back and top it off where needed. The “magic” isn’t a secret product—it’s sealing the overlooked places that act like open vents between your home and attic.
✅ Material cheat sheet (fast + reliable):
If you have pull-down stairs or a scuttle hatch, treat it like a giant exterior hatch: seal the frame to drywall, add weatherstripping and latches to compress the seal, and insulate the attic-facing side (stair cover/tent for stairs; rigid foam for hatches). Insulation alone won’t stop airflow.
One common DIY mistake: sealing over recessed lights that aren’t labeled IC-rated and airtight. If they’re not rated for contact, don’t bury them—replace them or consult a pro.
Seal the attic leaks first, then re-level your insulation. You’ll stop the hidden air exchange that drives drafts, temperature swings, and wasted HVAC runtime.
Want a trusted reference while you work? Use ENERGY STAR’s attic air-sealing walk-through and follow the same sequence shown above.
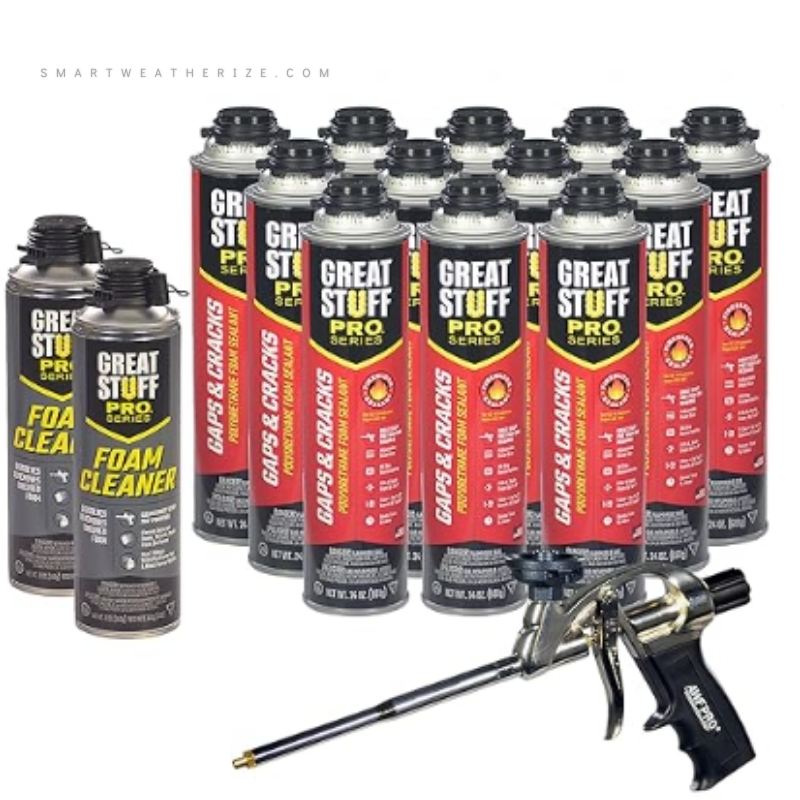
Seals medium attic bypass gaps without bowing drywall—ideal for cracks and voids you uncover after pulling insulation back.
A fireblock-rated foam for sealing wiring/plumbing penetrations and top-plate holes where code/fireblocking is a concern.
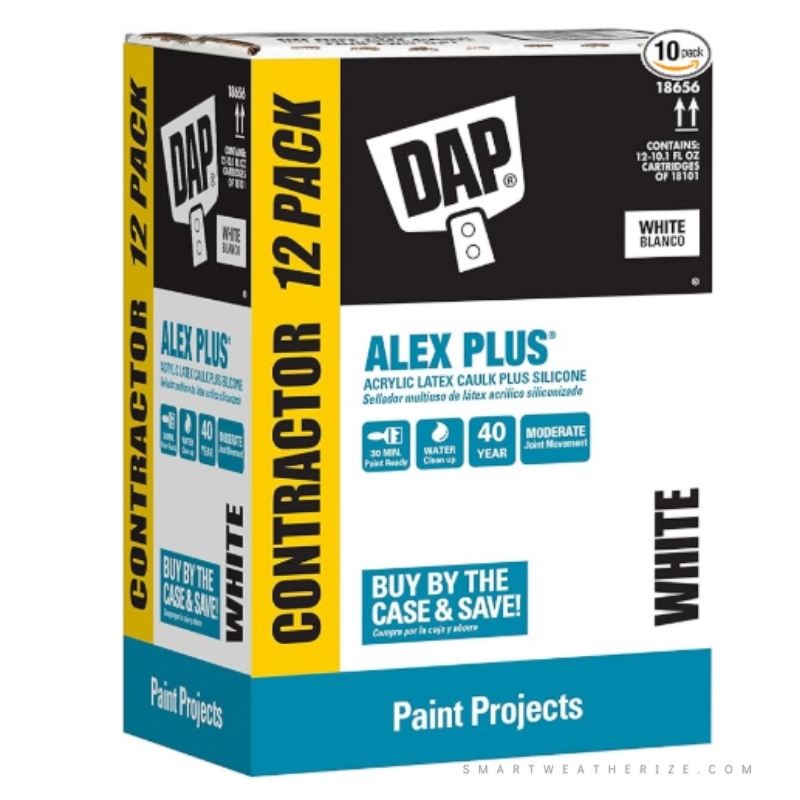
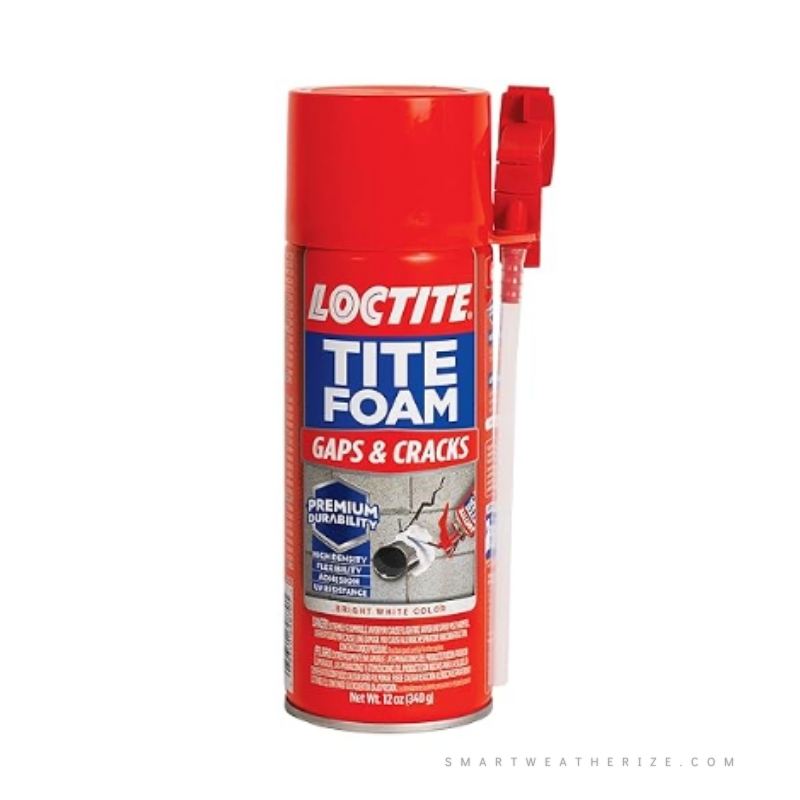
Best for small cracks (≤ 1/4″)—the “detail work” that stops sneaky attic air leaks.
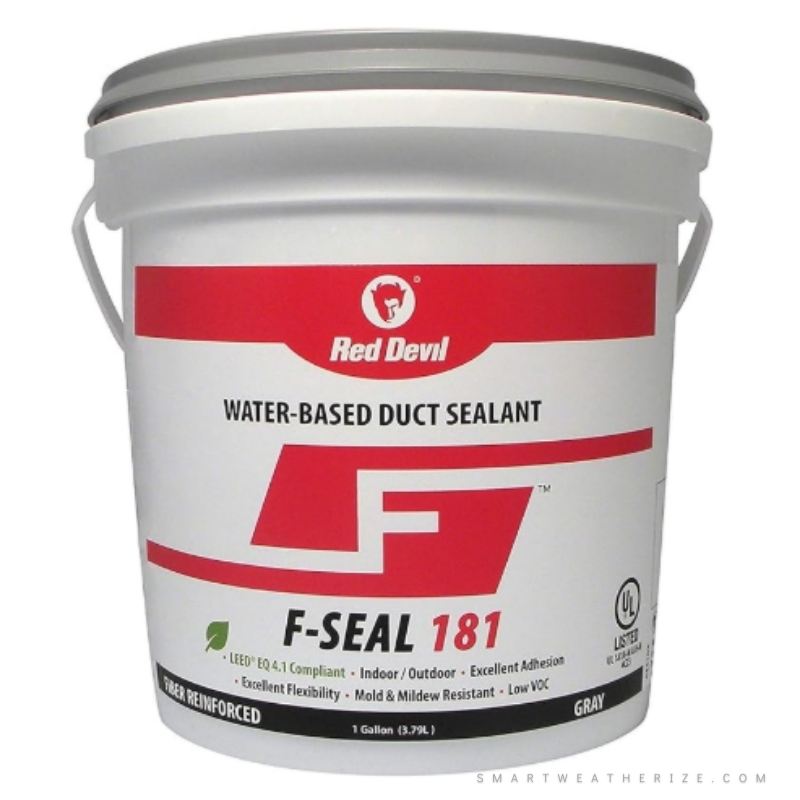
Seals duct seams and boot connections properly so you’re not losing conditioned air into the attic.
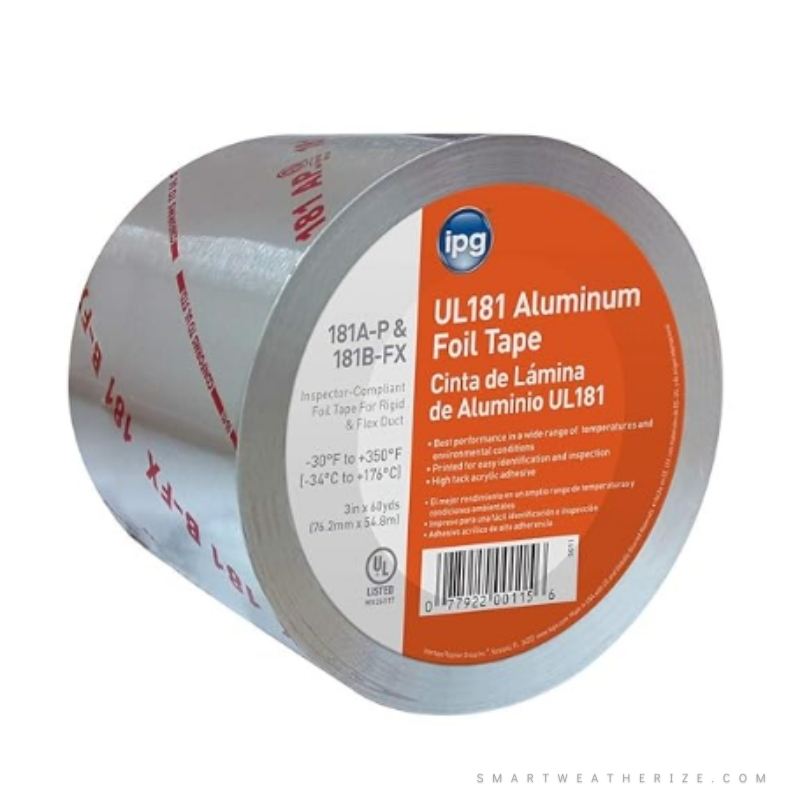
The right tape for ducts—UL-181 foil tape holds where “duct tape” fails.
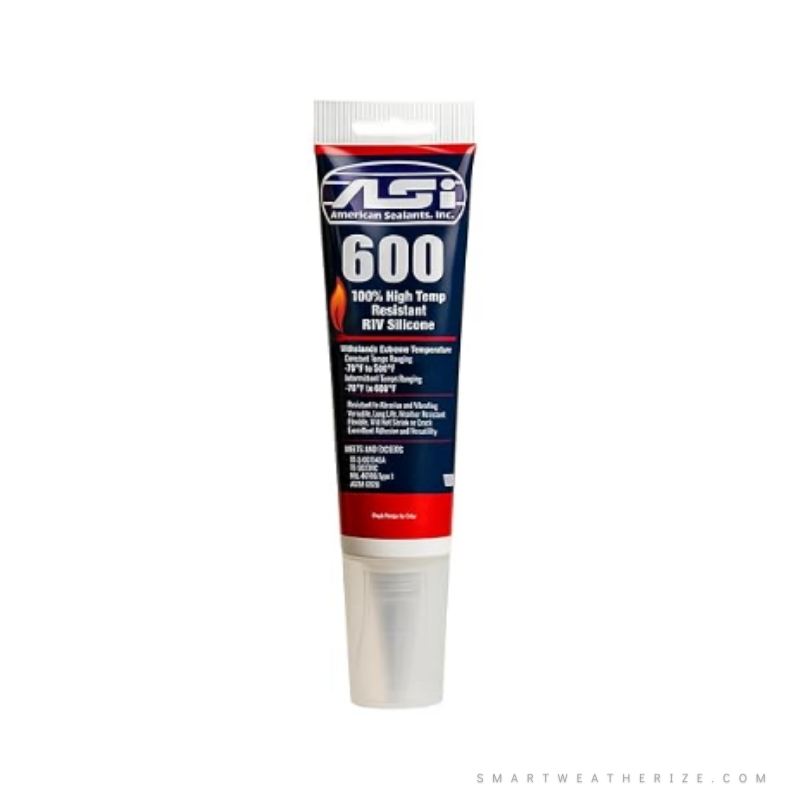
For “hot zones” near flues/chimneys—use high-temp silicone where foam is unsafe.
Turns your attic hatch into a real “door seal” so air doesn’t pour through the access opening.
Get Help to Lower Your Utility Bills Today!

Want to get in touch? We make it our priority to respond to every request within 24h.